

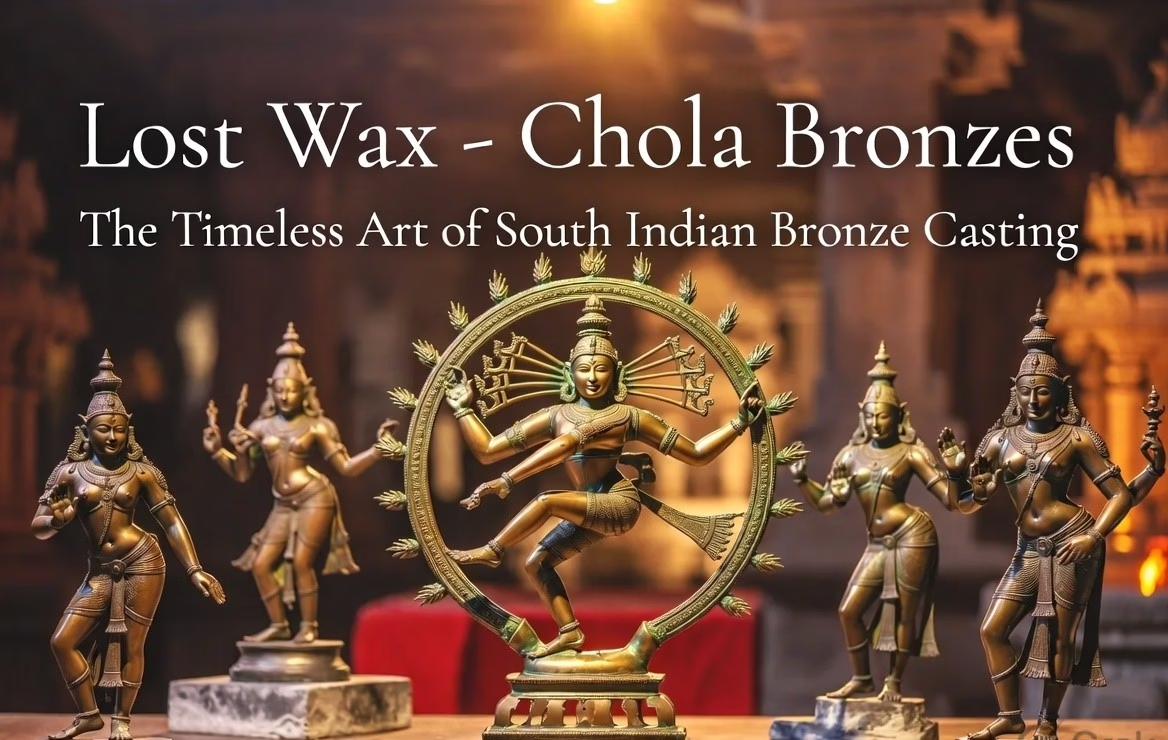
Hello folks! Have you ever looked at a bronze statue of a dancing deity and wondered how it was made? The intricate details, the graceful poses, the sheer perfection? Well, the answer lies in an ancient technique called the lost wax process.
This isn’t just any casting method. It’s a 4,000-year-old tradition that reached its artistic peak under the Chola dynasty in South India. The Chola bronzes created through this method are considered masterpieces of world art.
Today, we’re taking you behind the scenes. We’ll explore the fascinating journey of how a simple block of beeswax transforms into a divine bronze icon. From the sacred rituals to the scorching furnaces, let’s uncover the secrets of this incredible art form.
The Chola Bronze Legacy
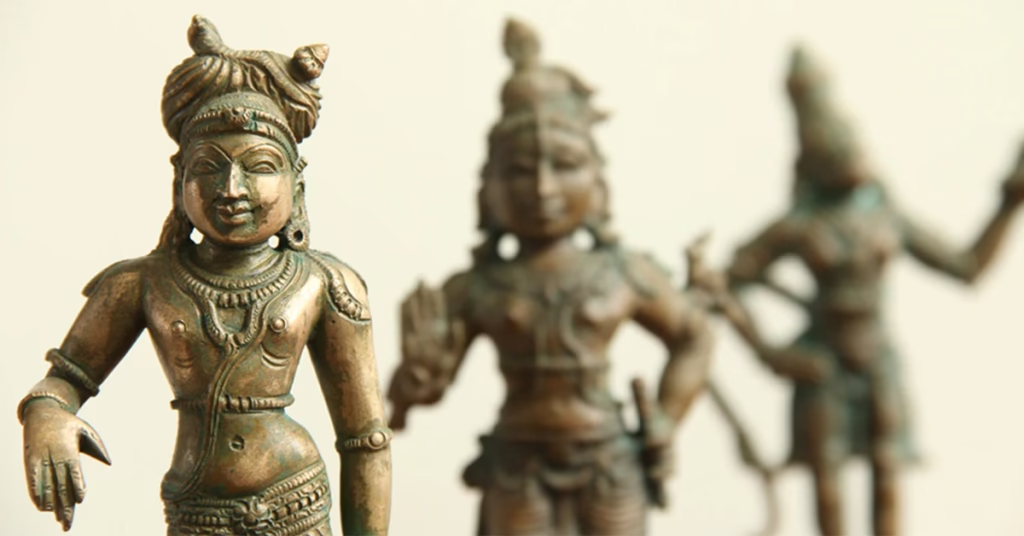
The Chola dynasty ruled South India from the 9th to the 13th century CE. They were not just great rulers. They were patrons of art, literature, dance, and music.
A Golden Age of Sculpture
The Chola period is considered a golden age of bronze casting. While the earlier Pallava kings experimented with stone and metal, the Cholas took it to a new level. They perfected the lost wax technique and created thousands of bronze icons for temple worship.
Key Facts About the Chola Bronze Tradition:
- The Chola Empire centered around the Kaveri River and the city of Thanjavur
- They built enormous stone temples decorated with images of gods
- Bronze icons were used as portable deities for processions
- The tradition continued for over 400 years until the late 13th century
Why Were They Made?
The Chola bronzes were not just art. They were living incarnations of the gods. Here’s why they were so important:
A – The bronze images were ritually bathed, fed, and clothed
B – They were carried through the streets during festivals
C – People could see the gods without entering the temple sanctum
The great 9th-century poet-saint Nammalvar said: “The lord comes within everyone’s reach”. That was the whole idea.
What Is the Lost Wax Process?
Let’s start with the basics. What exactly is the lost wax method?
The Simple Explanation
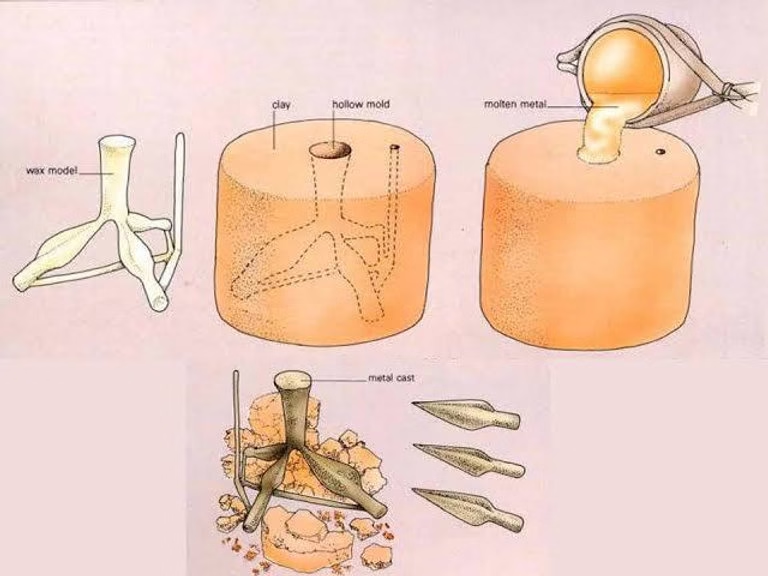
The lost wax process (called cire perdue in French) is a casting technique where a wax model is used to create a mold. Here’s how it works in simple terms:
- Make a wax model – The artist creates an exact replica of the final bronze statue using beeswax
- Cover it with clay – The wax model is coated with layers of clay to form a mold
- Melt out the wax – The mold is heated, and the wax melts and flows out, leaving an empty cavity
- Pour in molten metal – Hot liquid bronze is poured into the cavity
- Break open the mold – Once cooled, the clay is broken away to reveal the bronze statue
Why it’s called “Lost Wax”: The wax is “lost” – it melts away and is never recovered. Each mold is used only once, making every statue unique.
Ancient Knowledge, Modern Practice
The technique is described in ancient Sanskrit texts like the Manasollasa, a 12th-century treatise by King Someshvara of Kalyana. The term used in these texts is madhuchchhisthavidhana.
Did you know? The lost wax process has been used in India for over 4,000 years. The famous dancing girl from Mohenjo-daro (c. 2500 BCE) was made using the same technique.
Step-by-Step: How a Chola Bronze Is Made
Now, let’s get into the details. This is the core of the lost wax art. Each step requires immense skill and patience.
Step 1: Creating the Wax Model
The process begins with wax. The artist (called a sthapati) uses a mixture of beeswax and resin.
The Wax Recipe:
| Ingredient | Purpose |
| Beeswax | Base material for modeling |
| Damar Resin | Hardens the wax |
| Coconut/Nut Oil | Makes the wax more pliable |
Proportion: Traditional casters use a ratio of 50% beeswax and 50% resin powder.
The artist warms the wax and molds it into the desired shape. This is the most delicate part of the process. Every detail is carved by hand – the jewelry, facial features, clothing patterns, and hand gestures.
Tips from the Masters:
- A harder mixture is used for the main body
- A more malleable mix is used for fine details like the face
- Wooden tools are used to add finishing touches
For multi-armed figures, each arm is made separately and fused to the torso using heat. Rods are propped between the hands to maintain the correct spacing. The legs are also made separately and attached.
Step 2: Coating the Wax with Clay
Once the wax model is ready, it’s time to make the mold.
The Two-Layer System:
The Inner Layer – Fine clay mixed with sand is applied directly onto the wax. Traditionally, clay from the Kaveri riverbed was considered the best. This clay is believed to have been used since ancient times.
The Outer Layer – Coarse clay from paddy fields is applied over the inner layer. For larger pieces, the mold is reinforced with copper wire to prevent cracking.
Important: The wax model is dried in the shade for nearly a month. This prevents cracks in the mold.
Step 3: Making the Sprues and Vents
Before the clay dries completely, the artist creates channels in the mold. These are called sprues and vents.
Purpose of Channels:
- Sprues – Allow wax to flow out and metal to flow in
- Vents – Allow air to escape during metal pouring
The main orifice is usually created on the back of the torso. Additional openings are made in the head, legs, and sometimes the hands.
Step 4: The “Lost Wax” – Melting the Wax Out
This is where the process gets its name. The clay mold is heated over a fire. The wax inside melts and flows out through the channels. What remains is a hollow clay shell – a perfect negative of the original wax model.
Pro Tip: The mold is tied with metal wire to prevent breaking during the heating process. A final layer of clay is applied over the wire for extra strength.
Step 5: Pouring the Molten Metal
Now comes the casting. The artist prepares the metal alloy.
The Metal Recipe:
| Element | Percentage |
| Copper | 84% |
| Zinc | 14% |
| Tin | 2% |
Why this alloy? It gives both malleability and hardness. While called “bronze,” the traditional alloy is actually gun-metal – a mix of copper, zinc, and tin.
The Sacred Addition: Some artisans add gold and silver to the mix. This creates panchaloha (five-metal alloy), considered sacred and auspicious.
The Pouring Process:
- The metal is heated to approximately 1000°C
- The hot mold is buried in sand to keep it stable
- Molten metal is poured quickly through the sprue hole
- The metal cools overnight
Ancient Wisdom: The artist judges the pouring time by the color of the molten metal. When the metal overflows from the orifices on the head and leg, they know it has reached all parts of the body.
Step 6: Breaking the Mold
The next morning, the clay mold is broken open. This is where the final reveal happens!
What Happens Next:
- Breaking the shell – The clay is chipped away with a hammer
- Removing the sprues – The connecting channels are sawed off
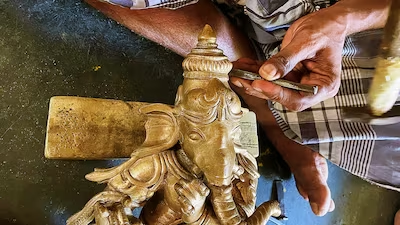
- Chiseling – Details of the face, jewelry, and clothing are sharpened
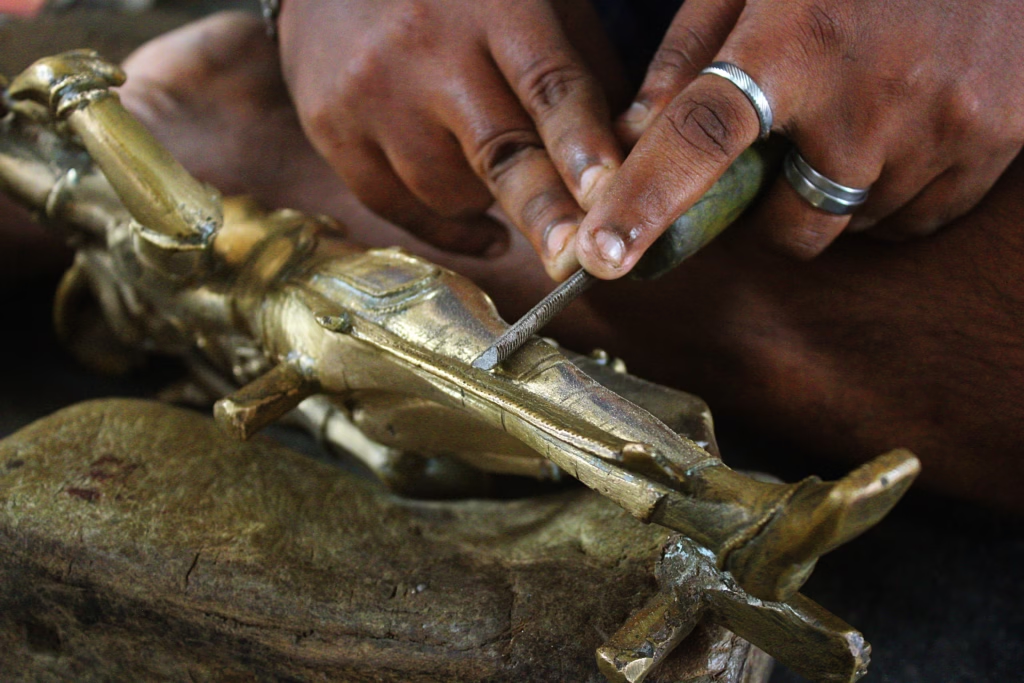
- Filing – The surface is smoothed and polished
Note: The amount of chiseling required depends on the skill of the craftsman. Better artisans produce more “complete” images that need less finishing.
Solid vs. Hollow Casting
There are two main methods of lost wax casting. Both have been used in India for centuries.
Solid Casting
This is the method used by traditional Chola craftsmen. The statue is made entirely of metal, with no clay core inside. The process uses a solid wax model.
Why Solid Casting? – It produces heavier, more durable statues. This is preferred for temple icons. The Chola dynasty is known for solid-cast images.
Hollow Casting
In this method, a clay core is used. The process involves:
- Making a clay core roughly the shape of the final image
- Covering it with a layer of wax
- Building the clay mold over the wax
- Pouring metal into the gap between core and mold
Why Hollow Casting? – It uses less metal and is therefore cheaper. It’s more common in Central and Eastern India. For very large figures like the famous Sultanganj Buddha, hollow casting is necessary.
The Modern Practice: Keeping Tradition Alive
The art of lost wax bronze casting continues today. Swamimalai in Tamil Nadu is the best-known center for this craft.
Where the Craft Lives
- Swamimalai – A village in Thanjavur district, home to hereditary bronze casters
- Pondicherry – A few artisans still practice the craft
- Tamil Nadu – The traditional center of Chola bronze casting
The Kaveri River clay used for molding is still considered essential. Some artisans still import it from Swamimalai.
Challenges Today
How Long It Takes:
| Statue Size | Time Required |
| 3 feet tall | Up to 4 months |
Health Risks:
- Eye problems from constant exposure to high temperatures
- Hair fall from heat exposure
- Chronic back pain from working on the floor
Finding Young Talent:
In Pondicherry, only two artisans remain. Most local youth prefer jobs in tourism where earnings are faster. Trainees come from Thanjavur instead. Learning the craft takes incredible patience – more than six months just to learn to create wax models.
What the Artisans Say:
“It is important to keep in mind the varying characteristics of all the figures. For example, Shiva is lean and powerful while Vishnu has a more rounded body.” – Vasanth, artisan in Pondicherry
“Learning this craft requires a lot of patience and hard work. When the master works, one must watch carefully; and when his work is done, one has to practice by imitating what he has made.” – Vasanth
Fun Facts and Quick Stats
- UNESCO Recognition: Chola bronzes are recognized as masterpieces of world art
- The Sultanganj Buddha: The largest surviving lost wax bronze in India – 2.23 meters tall, weighing over 500 kg
- Number of Hands: Some bronze deities have up to eight hands, each made and fused separately
- Solid Casting: Preferred for temple use because it’s more durable
- The Metal Mix: Traditional copper alloy with 84% copper, 14% zinc, 2% tin
FAQs
Q1. What is the lost wax method?
The lost wax method is a casting technique where a wax model is used to create a clay mold. The wax is melted out, leaving a cavity for pouring molten metal. Each mold can be used only once.
Q2. Why are they called Chola bronzes?
They are called Chola bronzes because they were created during the Chola dynasty in South India (9th-13th century CE). The Chola rulers were great patrons of bronze casting.
Q3. What metal are Chola bronzes made from?
They are made from an alloy of copper, zinc, and tin (about 84% copper, 14% zinc, 2% tin). Some include gold, silver, and lead, creating a sacred panchaloha alloy.
Q4. How long does it take to make a Chola bronze?
Crafting a three-foot statue can take up to four months. It takes more than six months just to learn to create wax models. The clay drying alone takes nearly a month.
Q5. Where are Chola bronzes made today?
The main center is Swamimalai in Thanjavur district, Tamil Nadu. A few artisans still practice in Pondicherry. This is the same region where the Chola dynasty once ruled.
Q6. What makes each Chola bronze unique?
Since every bronze requires a new wax model and clay mold, each sculpture is unique. Even similar-looking statues have subtle differences.
Q7. What is the difference between solid and hollow bronze casting?
Solid casting – The statue is made entirely of metal, without a clay core. Hollow casting – A clay core is used, reducing the amount of metal needed. Chola bronzes are typically solid cast.
Q8. Why are Chola bronzes considered special?
They are admired for their sensuous depiction of the human figure, detailed treatment of clothing and jewelry, and their dynamic, graceful poses. They are considered among the most renowned sculptures in world art.
Also Read:

Leave a Reply